How to Make Jewelry Step by Step
Making jewelry from scratch is one of the most satisfying craft skills you can develop. The learning curve is real, but the fundamentals are approachable, and once you understand the core steps, you can produce pieces that look professional without a commercial workshop.
This guide walks you through the full process, from gathering tools to finishing your first piece. I’ll focus on metal-based jewelry because that’s where the most durable, polished results come from, and it’s the foundation you’ll want if you’re working toward pieces like sterling silver tags, rings, or pendants.
What You Need Before You Start
Get your tools and materials sorted before touching metal. Jumping in with incomplete supplies wastes time and produces poor results.
Essential tools for beginners:
- Round-nose pliers (for forming curves and loops)
- Flat-nose pliers (for gripping and bending)
- Wire cutters or flush cutters
- A jeweler’s file set (4-inch cut 2 is a good starting point)
- A flex shaft or rotary tool with polishing attachments
- Steel bench block and a chasing hammer
- Safety glasses
For materials, start with 20-gauge sterling silver wire or copper wire. Copper is cheaper, so it’s ideal for practice runs before you commit to silver. Grab a sheet of 22-gauge sterling silver sheet metal if you want to cut flat shapes.
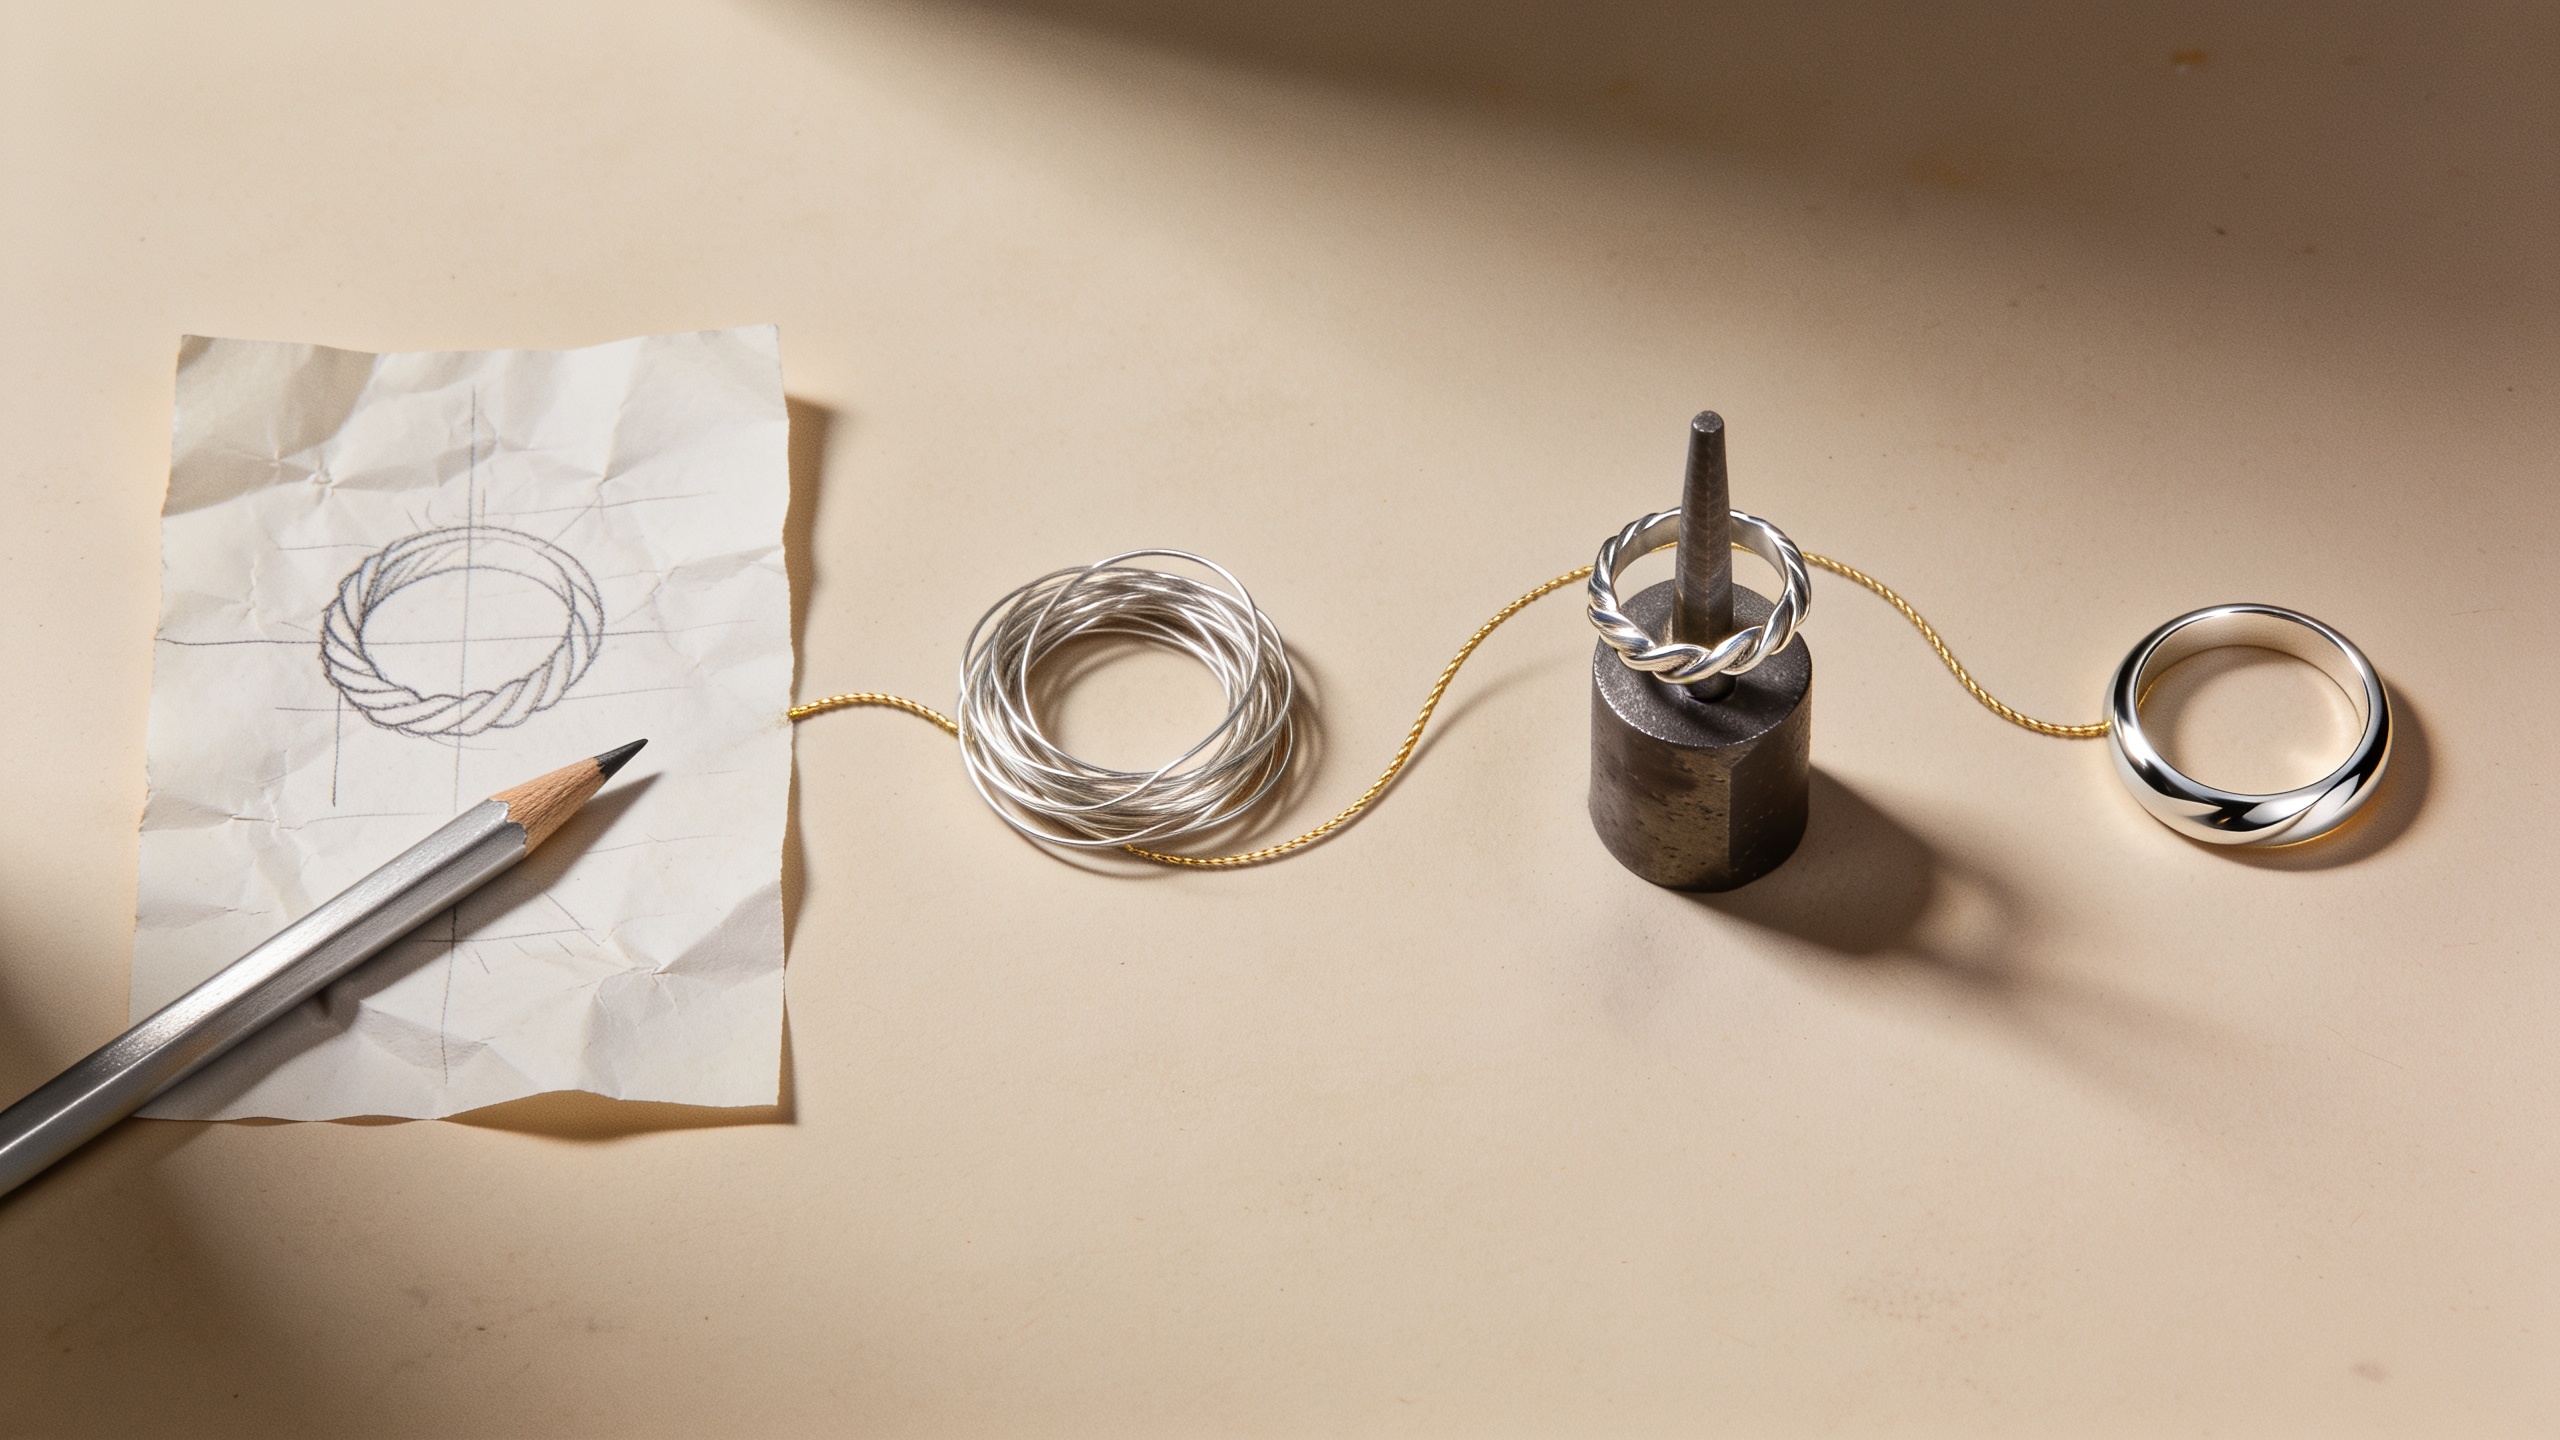
Step 1: Plan Your Design
Sketch your piece on paper first. This sounds basic, but it saves metal and frustration. Decide on dimensions, whether the piece is a pendant, ring, earring, or tag shape, and note where any holes or jump rings need to go.
Measure twice. If you’re making a dog tag shape, a standard size is roughly 1.25 inches by 0.75 inches. Mark that on your metal sheet with a silver scribe or a fine marker before you cut.
Step 2: Cut and Shape the Metal
Use jeweler’s shears or a jeweler’s saw to cut your marked shape from sheet metal. A jeweler’s saw gives cleaner edges on curves. Secure the metal to a bench pin, keep your saw blade perpendicular, and move at a steady pace. Forcing the blade breaks it.
After cutting, refine the edges with your file. Work in one direction along each edge rather than back-and-forth scrubbing. File until the edge feels smooth when you drag a fingernail across it.
For wire-based designs, cut your wire to length with flush cutters. The flush side of the cut faces outward so sharp wire ends face inward where they contact your skin.
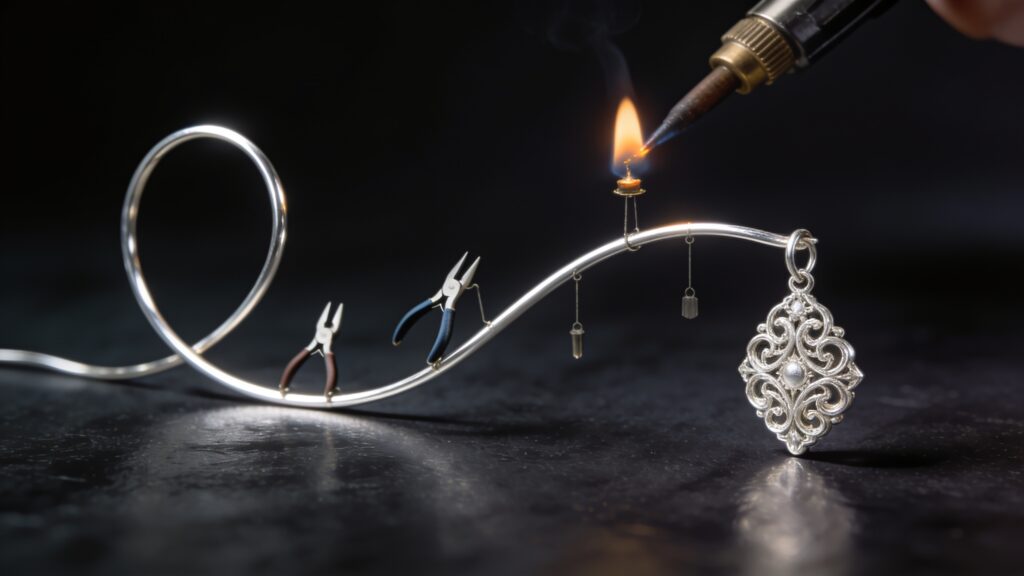
Step 3: Form and Assemble
This step depends heavily on your design, but the core technique for most beginners is wire forming and soldering or cold connections.
Wire forming: Use round-nose pliers to create loops, spirals, and curves. Grip the wire, rotate the pliers, and let the wire wrap naturally. Consistency comes from gripping the wire at the same spot on the pliers every time.
Cold connections: These use mechanical attachment, rivets, jump rings, or wire wrapping, with no heat required. Jump rings are the fastest way to connect components. Open a jump ring by twisting it sideways (never pulling it apart), hook your components, then twist it closed again.
Soldering: Soldering joins metal pieces permanently. You need a butane or propane torch, silver solder (easy, medium, and hard refer to melting temperature), and flux. Flux prevents oxidation during heating. Apply flux to the join, place a small snippet of solder at the seam, heat the metal evenly until the solder flows, then quench in water. I recommend practicing on copper before soldering sterling silver.
Step 4: Refine the Surface
Raw cut metal looks rough. Surface finishing is what separates a handmade piece from a professional one.
| Finishing Stage | Tool | Result |
|---|---|---|
| Filing | Jeweler’s file, 150-grit | Removes saw marks and burrs |
| Sanding | Emery paper, 220 to 400-grit | Smooths file scratches |
| Pre-polish | 600-grit wet/dry paper | Prepares for final polish |
| Final polish | Polishing cloth or rotary buff | High shine or satin finish |
Work through each stage in sequence. Skipping from filing straight to polishing leaves visible scratches. Take your time on the sanding stages, they do most of the real work.
Step 5: Add Holes and Hardware
If your piece needs a hole for a chain or jump ring, drill it now, after finishing, to avoid distorting the metal. Use a 1mm or 1.5mm drill bit in your flex shaft. Mark your drilling spot with a center punch first so the bit tracks cleanly.
Deburr the hole from both sides with a slightly larger bit rotated by hand, or use a countersink bit. This removes sharp edges that can cut a chain or catch on skin.
Step 6: Final Polish and Clean
Buff your piece with a polishing cloth or a rotary polishing wheel loaded with jeweler’s rouge compound. Use light pressure and keep the piece moving to avoid flat spots or heat buildup.
After polishing, clean the piece with warm soapy water and a soft toothbrush to remove compound residue. Dry thoroughly. For sterling silver, a quick dip in a commercial silver cleaner removes any oxidation that built up during work.
Key Takeaways
Making jewelry step by step comes down to respecting the sequence: plan, cut, shape, assemble, refine, drill, polish. Each stage builds on the last. Rushing any one of them shows in the finished piece.
Start with copper to learn your tools, then move to sterling silver once your cuts are clean and your joins are tight. Invest in quality files and pliers early because good hand tools make the work faster and more precise.
Your first piece will have flaws. That’s correct. The second will be better, and by the tenth you’ll have built the muscle memory that makes every step feel natural. Start with a simple pendant or tag shape, finish it completely, and you’ll have a foundation to build on for every more complex design that follows.